|
|
"Inertial panning" (or scrolling) works by applying friction to the
movement velocity. This makes the movement look smooth and natural. |
tl;dr: In this post I describe how I implemented "traditional" swipe-based level-camera controls in Godot. This includes drag-to-pan, multi-touch pinch-to-zoom, inertial panning, swipe gesture-smoothing, and automatic camera limits based on the level-boundaries.
|
|
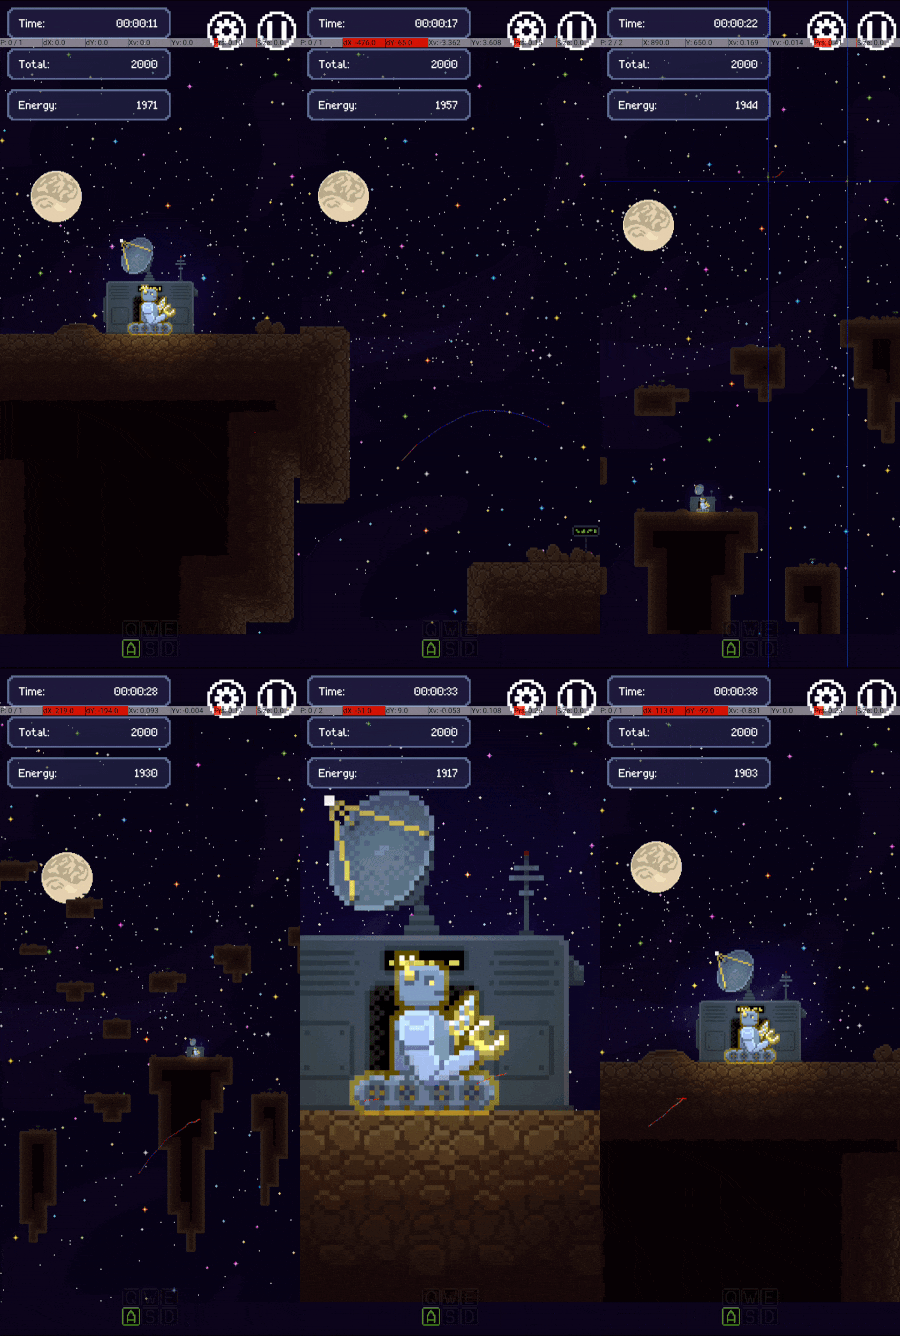
Here's what it looks like on a mobile phone. Notice the panning inertia and pinch-to-zoom toward a target position. |
Let's start simple: A one-touch drag
The core of this is pretty straight-forward.- Listen for a touch-move event
- Calculate the displacement since the last touch-move event
- Then translate the camera offset using that displacement
You might want to also include a slight multiplier on the camera displacement here, to adjust the pan to be more or less sensitive.
What about zoom?
The difficulty comes when you start changing the camera's zoom. When the camera is zoomed-in, you want a swipe gesture to move the camera less far. When the camera is zoomed-out, you want the same swipe gesture to move the camera further.
Well, actually, everything is moving the same distance in "screen space", regardless of the current zoom. It's in "level space" that the distances differ according to zoom. Which brings me to an important point:
Capture touch events in "screen space", then transform them into "level space".
For most of the panning and zooming logic, you want to use positions, distances, velocities, etc. in "level space", but you sometimes still need to know the screen-space coordinates.
If you're considering your touch positions in level-space, then you don't need to explicitly include zoom in your camera-offset calculation. If you're considering your touch positions in screen-space, then you'll need to multiply the offset by the current zoom multiplier.
Now let's add zoom controls
It's a lot simpler to calculate zoom updates using a mouse with a scroll wheel, than with a multi-touch gesture, so let's consider the mouse-based case first.
The core of this is also pretty straight-forward:
- Listen for mouse-scroll events.
- If the scroll direction is up, then divide by a constant zoom-speed-multiplier.
- If the scroll direction is down, then divide by the same zoom-speed-multiplier.
In this case, the complexity arises when you try to target the zoom toward the cursor's current position.
Targeting zoom toward a specific position
What does this mean? Take a look at this comparison of zoom with and without a target position.
You don't get the desired behavior for free! You have to calculate a corresponding camera offset according to the old zoom, the new zoom, the cursor's position (in level-space), and the camera's current offset (in level-space).
Multi-touch pinch-to-zoom
Tracking multi-touch events isn't really too difficult to understand and implement. But it does involve a lot more boilerplate and more edge-cases that you could break. Here are the key steps:
- Listen for touch-down, touch-up, and touch-drag events.
- Determine the touch position in both screen-space and level-space.
- Get the touch-index for the event.
- This tells you which finger corresponds to the event.
- Godot (or the underlying platform) handles all of the complicated logic for determining whether or not an event should be attributed to the same finger as another active touch.
- Update a mapping from touch-index to touch-positions for all active touches.
- Calculate the current distance between touches, and the ratio from the previous distance.
- Emit a signal when there is a touch update, and there are exactly two active touches.
- Then the camera code updates the zoom according to the current pinch distance ratio.
Let's set some boundaries
Another important feature of a well-implemented camera is boundaries. That is, you don't want the player to be able to pan too-far away from the level. You also don't want the player to zoom too far in or out.
|
|
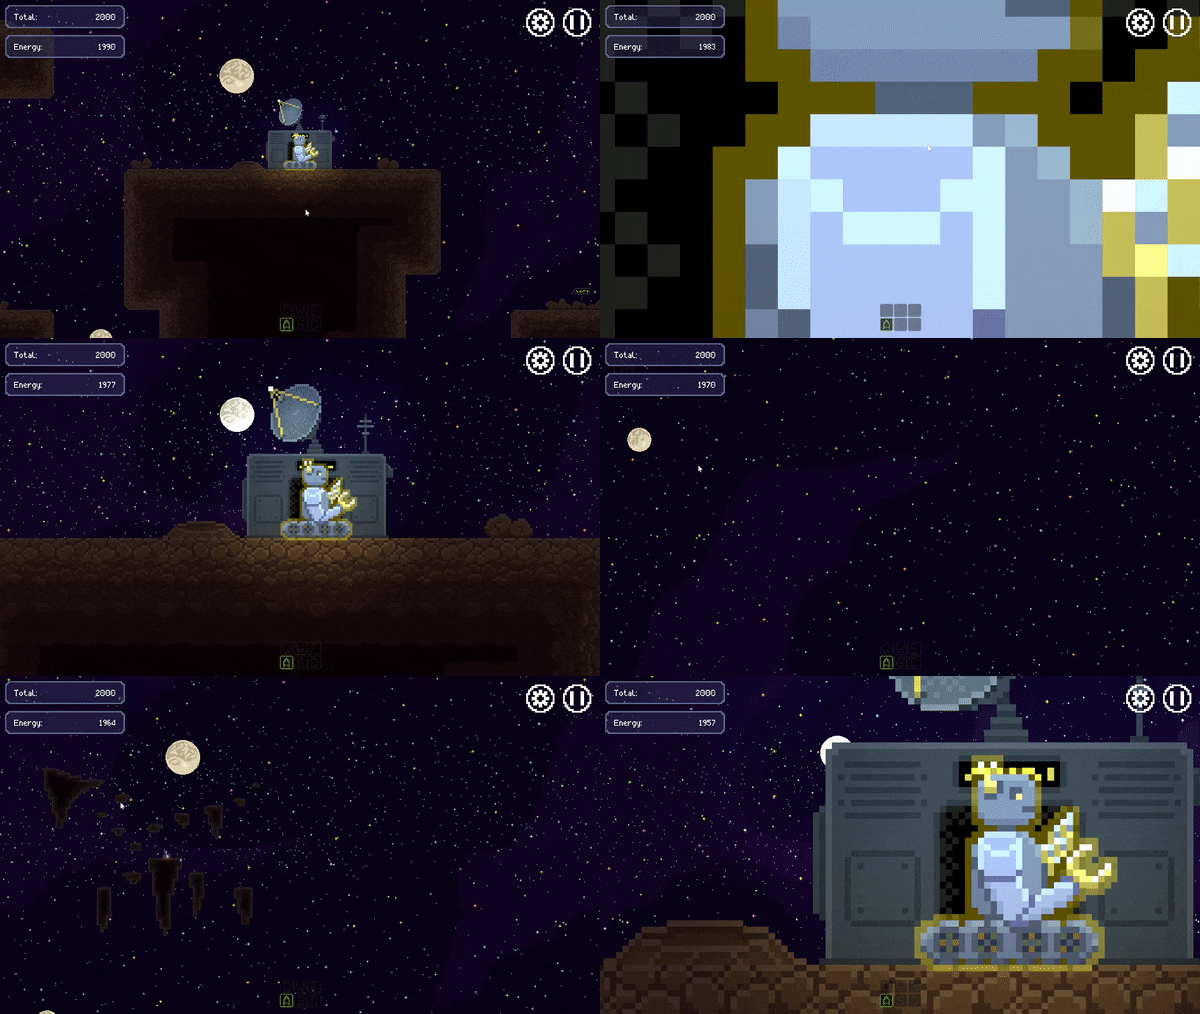
Camera zoom without limits! |
Why not let the user handle this?
Obviously, the player could control this themselves, and just choose not to pan or zoom so far that they get lost. But as a UI designer, it's very important for you to understand the number one rule of UI design:
The user is an idiot!
Ok, so maybe not really. But it's very useful for you to think so. Because if you make it easy for the user to do the wrong thing, they're going to do the wrong thing. And then the bad experience is really your fault, not theirs.
So if you know the user will never benefit from zooming too far out or in, or panning too far away, don't let them!
First, define the viewable region
A simple way to do this is to find the minimum axially-aligned bounding-box (AABB) that contains all the collidable geometry in your level. Then you probably want to add some margin to that AABB.
Next, calculate the maximum zoom-out
You could just want to set a constant value for this, based on how far out you think things become difficult to see.
Or you could automatically calculate how far-out the camera needs to zoom before it touches the boundaries of the viewable-region on opposite sides. This calculation depends on the aspect ratio of the viewport and of the viewable-region, since the zoom-out will be limited by whichever dimension limit it hits first.
Or you might want to use the best of both approaches and choose whichever of the two above limits is smaller for the current level!
Now you can limit the camera offset
- First, clamp the zoom to stay between the min and max values we calculated above.
- Then, calculate the current size of the viewable region in level-space according to the current camera zoom.
- Then, we can calculate the camera min and max positions according to the current viewable region size and the viewable region boundary limits we calculated above.
Panning with inertia
Huh?
"Pan inertia" (or "scroll inertia") just means that the movement will continue and slow-down gradually after you release your finger. This makes panning and scroll controls feel much more natural and smooth for the user. And this is a pretty standard feature for modern touch controls. So your players will notice when it's not there!
So how do we implement it?
In-case the word "inertia" didn't clue you in, you'll need to use some high-school-level physics skills to implement this feature. Here are the key steps:
- Update the touch-listener to also track the current drag velocity.
- This is just the displacement from the previous touch position to the current position divided by the time between the current and previous touch events.
- Update the camera-controller to listen for touch-release events, and to then toggle-on deceleration physics.
- The deceleration physics updates the current velocity value at a constant rate, and it updates the camera offset according to the current velocity.
- The deceleration physics ends when either the velocity becomes small enough or another touch happens.
Noisy gesture data
Unfortunately, this simple inertia implementation will probably behave strangely for you. The problem is that touch-based gesture data is very noisy! This is for a couple different reasons:
- The actual human movement isn't regular—especially around the start and end of the gesture.
- Touch sensors may not be as accurate or precise as you expect.
- And they can vary a lot on different devices!
You might notice noisy gesture data because of weird stops or giant jumps in the camera panning when you release a swipe. But this might only happen about half the time. For the other half of gestures, you might see pretty-correct-looking post-release deceleration.

|
|
Panning with inertia, but without smoothing the gesture velocity. |
Smoothing the noise
To fix noisy gesture data, we apply some form of "smoothing". A simple way to do this is to just compare the latest position with a position from X seconds ago, rather than just with the previous position.
To use this fix, you'll need to keep track of many recent events in a buffer, rather than just the last one or two events as stand-alone variables.
|
|
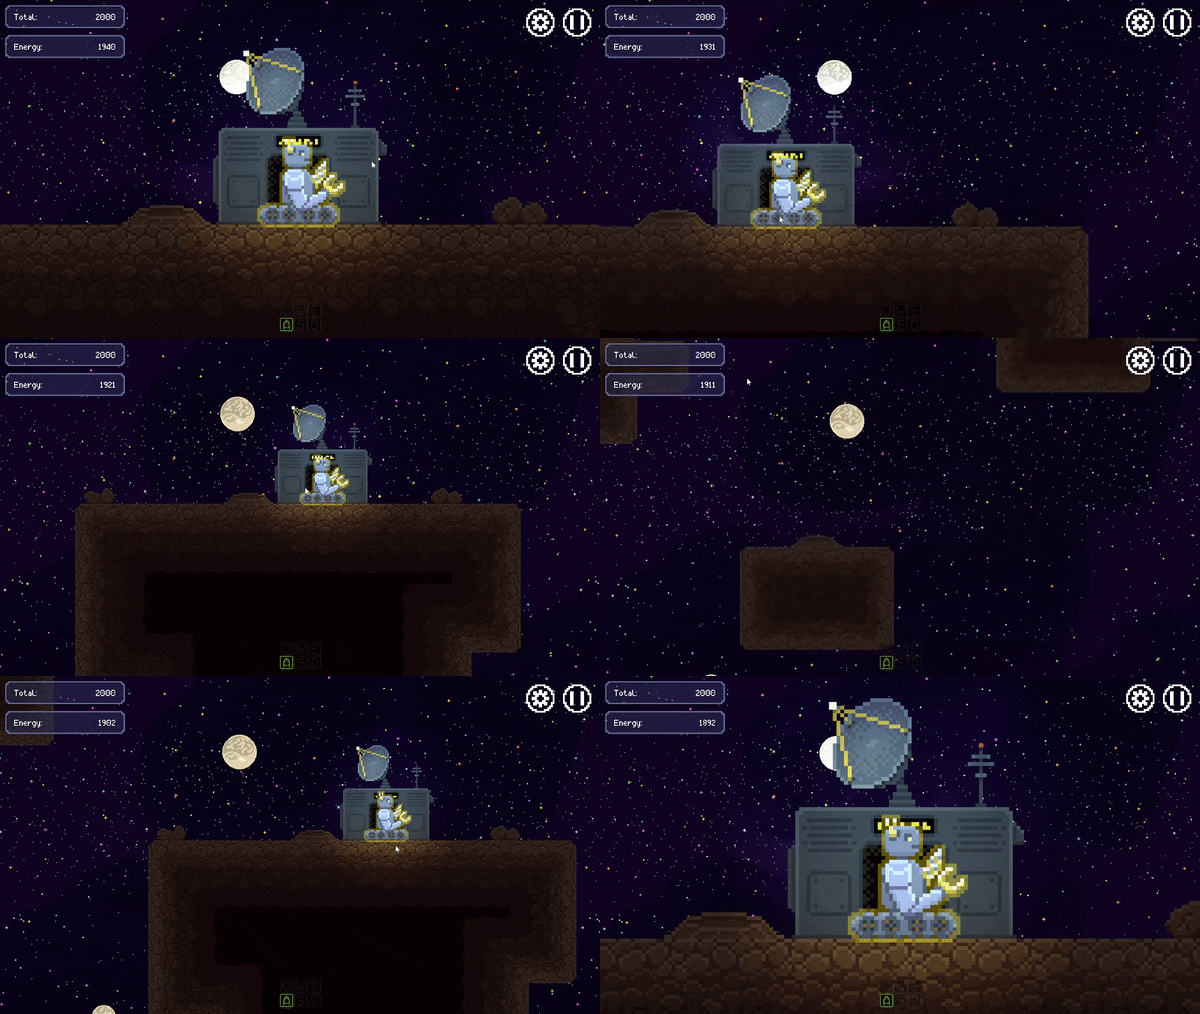
Inertial camera panning and scroll-to-zoom (on a PC)! |



Comments
Post a Comment